Hey there, tech enthusiasts! If you're reading this, chances are you're diving headfirst into the world of remote IoT monitoring using SSH on your Mac. Whether you're a seasoned pro or just starting out, let me tell ya, you're in the right place. In this guide, we'll break down everything you need to know about remote IoT monitoring with SSH, including how to set it up, download the necessary tools, and troubleshoot common issues. So grab your favorite drink, sit back, and let's get into it!
Remote IoT monitoring is not just a buzzword anymore; it's a necessity for anyone managing devices across multiple locations. SSH, or Secure Shell, plays a huge role in ensuring your devices are secure and accessible from anywhere. With the rise of IoT devices, having a reliable method to monitor them remotely is crucial. And let’s be honest, if you're using a Mac, you already have half the battle won.
This guide will take you through the basics, advanced techniques, and everything in between. From downloading the necessary software to setting up your SSH keys, we've got you covered. By the end of this, you'll be a remote IoT monitoring pro, ready to tackle any challenge that comes your way. So, let’s dive in!
Read also:Woman Strangled At Norcal Prison A Tragic Tale Unveiled
What is Remote IoT Monitoring?
Alright, let's start with the basics. Remote IoT monitoring, in its simplest form, is the process of keeping an eye on your IoT devices from afar. Think of it like having a virtual assistant that keeps tabs on all your gadgets, making sure they're running smoothly and alerting you if anything goes wrong.
Now, why is this important? Well, IoT devices are everywhere these days—from smart home appliances to industrial equipment. Monitoring them remotely ensures you can quickly address any issues without needing to physically be present. And let's not forget, it saves a ton of time and resources.
SSH, or Secure Shell, is the key to making this happen. It provides a secure way to access and manage your devices over the internet. With SSH, you can execute commands, transfer files, and even monitor device performance—all from the comfort of your desk.
Why Use SSH for Remote IoT Monitoring?
Here's the deal: when it comes to remote access, SSH is king. It’s secure, reliable, and widely supported across most platforms, including Mac. Let’s break down why SSH is the go-to choice for remote IoT monitoring:
- Security: SSH encrypts all communication between your device and the remote server, ensuring your data stays safe from prying eyes.
- Flexibility: With SSH, you can do more than just monitor devices. You can manage files, execute commands, and even set up automated scripts.
- Compatibility: SSH works seamlessly with most IoT devices, making it a universal solution for remote monitoring.
- Easy Setup: If you're using a Mac, you already have SSH built-in. All you need to do is enable it and configure your settings.
So, whether you're managing a smart home system or monitoring industrial sensors, SSH has got your back. Now, let’s move on to the next step: downloading the tools you’ll need.
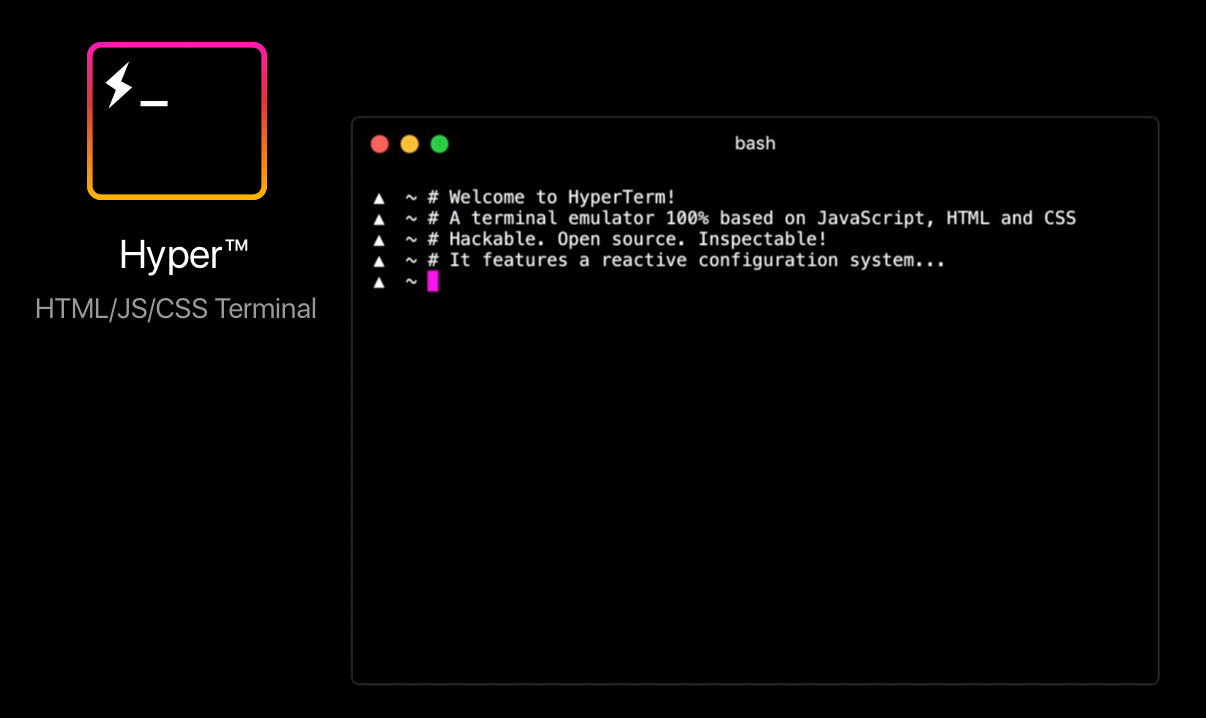
Downloading SSH Tools for Mac
Now, here's where things get interesting. If you're using macOS, you're in luck because SSH is already pre-installed. However, if you want to take things to the next level, there are some awesome third-party tools you can download to enhance your experience.
Read also:Megan Fox Erome Unveiling The Glamorous Side Of The Internet Sensation
Popular SSH Clients for Mac
While macOS comes with the built-in Terminal app for SSH, sometimes you might want a more user-friendly interface. Here are some of the best SSH clients for Mac:
- Termius: A cross-platform SSH client that offers a clean interface and advanced features like session management and key storage.
- PuTTY (for Mac): A classic choice for SSH enthusiasts, PuTTY offers robust functionality and is completely free.
- Jump Desktop: Perfect for those who prefer a graphical interface, Jump Desktop allows you to connect to remote devices with ease.
Download any of these tools to streamline your remote IoT monitoring process. Trust me, it’ll make your life a whole lot easier.
Setting Up SSH on Your Mac
Alright, let's get down to business. Setting up SSH on your Mac is surprisingly simple. Follow these steps, and you'll be good to go:
- Open the Terminal app on your Mac.
- Type
ssh username@remote_hostand hit Enter. Replaceusernamewith your actual username andremote_hostwith the IP address or domain name of your IoT device. - When prompted, enter your password to establish the connection.
That’s it! You’re now connected to your IoT device via SSH. But wait, there’s more. Let’s talk about SSH keys and why you should use them.
Using SSH Keys for Secure Connections
SSH keys are like digital passports that allow you to connect to your devices without entering a password every time. Here’s how to set them up:
Generating SSH Keys
- Open Terminal and type
ssh-keygen -t rsa. - Follow the prompts to save the key in the default location.
- When prompted, enter a passphrase (optional but recommended).
Once your keys are generated, you’ll need to copy the public key to your IoT device. Here’s how:
- Run
pbcopy to copy the public key to your clipboard. - Log in to your IoT device using SSH.
- Create or edit the
~/.ssh/authorized_keysfile and paste the public key.
Voila! You’re now set up with SSH key authentication. No more passwords to remember—just smooth, secure access to your devices.
Monitoring IoT Devices with SSH
Now that you’re all set up, it’s time to start monitoring your IoT devices. Here are some tips to help you get the most out of your SSH connection:
Basic Commands for Monitoring
top: View real-time system performance metrics like CPU usage and memory consumption.df -h: Check disk space usage on your IoT device.ping: Test connectivity to other devices on your network.
For more advanced monitoring, consider installing tools like htop or glances. These tools provide a more detailed view of your device’s performance and can help you identify potential issues before they become major problems.
Troubleshooting Common SSH Issues
Even the best-laid plans can go awry sometimes. If you’re having trouble connecting to your IoT device via SSH, here are a few troubleshooting tips:
- Check Your Network Connection: Ensure both your Mac and IoT device are connected to the same network.
- Verify SSH Service Status: Make sure the SSH service is running on your IoT device. You can check this by running
systemctl status ssh. - Firewall Settings: Ensure your firewall isn’t blocking incoming SSH connections.
If none of these work, don’t panic. Drop into the comments below, and we’ll help you troubleshoot further.
Advanced Techniques for Remote IoT Monitoring
Ready to take your remote IoT monitoring skills to the next level? Here are a few advanced techniques to explore:
Setting Up Port Forwarding
Port forwarding allows you to access your IoT devices from outside your local network. While this can be a bit tricky to set up, it’s definitely worth the effort. Here’s how:
- Log in to your router’s admin interface.
- Locate the port forwarding settings and add a new rule.
- Set the external port to 22 (default SSH port) and the internal IP address to your IoT device’s IP.
With port forwarding enabled, you can access your IoT devices from anywhere in the world. Just make sure to secure your connection with strong passwords and SSH keys.
Security Best Practices for Remote IoT Monitoring
Security should always be a top priority when it comes to remote IoT monitoring. Here are some best practices to keep your devices safe:
- Use Strong Passwords: Avoid using simple or easily guessable passwords.
- Enable Two-Factor Authentication: Add an extra layer of security by requiring a second form of verification.
- Regularly Update Your Devices: Keep your IoT devices and software up to date to patch any security vulnerabilities.
By following these practices, you can ensure your remote IoT monitoring setup is as secure as possible.
Future Trends in Remote IoT Monitoring
As technology continues to evolve, so does the world of remote IoT monitoring. Here are a few trends to watch out for:
- Artificial Intelligence: AI-powered monitoring tools are becoming more common, offering predictive analytics and automated issue resolution.
- Edge Computing: By processing data closer to the source, edge computing reduces latency and improves overall performance.
- 5G Networks: With faster and more reliable connectivity, 5G will enable more advanced IoT applications and remote monitoring capabilities.
Stay tuned for these exciting developments and be ready to adapt your remote IoT monitoring strategies accordingly.
Conclusion
Well, there you have it—a comprehensive guide to remote IoT monitoring with SSH on your Mac. From setting up SSH connections to troubleshooting common issues, we’ve covered everything you need to know to become a pro at this. Remember, the key to successful remote IoT monitoring lies in security, flexibility, and staying up to date with the latest trends.
So, what are you waiting for? Dive in, experiment, and let us know how it goes. And don’t forget to share this article with your fellow tech enthusiasts. Together, we can build a safer, smarter IoT ecosystem!
Table of Contents
- What is Remote IoT Monitoring?
- Why Use SSH for Remote IoT Monitoring?
- Downloading SSH Tools for Mac
- Setting Up SSH on Your Mac
- Using SSH Keys for Secure Connections
- Monitoring IoT Devices with SSH
- Troubleshooting Common SSH Issues
- Advanced Techniques for Remote IoT Monitoring
- Security Best Practices for Remote IoT Monitoring
- Future Trends in Remote IoT Monitoring