Hey there, tech enthusiasts! If you're diving into the world of IoT (Internet of Things) and looking to harness the power of remote access, you've come to the right place. RemoteIoT web SSH example is your gateway to managing devices from anywhere in the world. Whether you're a developer, hobbyist, or professional in the IoT field, understanding how to leverage SSH for remote device management can be a game-changer. So, buckle up, because we're about to explore everything you need to know to get started with this powerful technology.
Before we dive deep into the nitty-gritty of remote IoT SSH, let's talk about why this topic matters. Imagine being able to control and monitor your IoT devices without physically being near them. Sounds cool, right? This kind of flexibility is crucial for modern IoT applications, from home automation to industrial systems. RemoteIoT web SSH example gives you the tools to do just that, and more.
In this article, we'll break down the concept of SSH in IoT, walk you through practical examples, and provide actionable tips to help you get started. By the end of this, you'll have the knowledge and confidence to implement remote IoT solutions using SSH. Let's get rolling!
Read also:Revealing Karoline Leavitt Measurements A Deep Dive Into Her World
Table of Contents
- What is RemoteIoT Web SSH Example?
- How Does SSH Work in IoT?
- Setting Up SSH for IoT Devices
- Example 1: Basic SSH Command
- Example 2: Web-Based SSH Interface
- Best Practices for Secure IoT SSH
- Troubleshooting Common Issues
- Tools and Platforms for RemoteIoT SSH
- Security Considerations for IoT SSH
- Conclusion and Next Steps
What is RemoteIoT Web SSH Example?
Alright, let's kick things off with the basics. RemoteIoT web SSH example refers to the use of Secure Shell (SSH) protocols to remotely manage and interact with IoT devices via a web interface. SSH is like a secure tunnel that lets you send commands and transfer data between your computer and an IoT device, even if they're miles apart. It's kinda like having a virtual handshake with your gadgets, ensuring everything stays connected and secure.
So, why use SSH for IoT? Well, it's all about reliability and security. Unlike other methods that might leave your devices vulnerable, SSH encrypts your communication, making it harder for hackers to intercept sensitive information. Plus, it's super flexible, allowing you to automate tasks, monitor performance, and troubleshoot issues from the comfort of your laptop.
Now, let's break it down further. When we talk about remote IoT SSH, we're not just referring to one specific example. There are tons of ways you can use SSH in IoT, depending on your project requirements. From setting up home automation systems to managing large-scale industrial networks, SSH has got you covered.
Benefits of RemoteIoT with SSH
- Secure communication between devices
- Easy remote access and management
- Scalability for large IoT networks
- Automation of repetitive tasks
- Cost-effective solution compared to proprietary software
How Does SSH Work in IoT?
Let's get into the technical side of things. SSH operates on a client-server model, where your computer acts as the client and your IoT device acts as the server. When you initiate an SSH connection, the client sends an authentication request to the server, usually using a username and password or public-key authentication. Once authenticated, you can execute commands, transfer files, and manage settings on the device.
Here's a simple analogy to help you understand: Think of SSH as a secure phone line between you and your IoT device. You pick up the phone (initiate the connection), dial the number (authenticate), and start talking (execute commands). Only, in this case, the "phone line" is encrypted, ensuring no one else can eavesdrop on your conversation.
Now, when it comes to IoT, SSH adds an extra layer of complexity. Since IoT devices often have limited resources, you need to optimize your SSH setup to ensure smooth performance. This might involve tweaking configuration settings, using lightweight clients, or even setting up a web-based interface for easier access.
Read also:Patriots Eye Big Afc Trade The Move That Could Shake Up The Nfl
Key Components of SSH in IoT
- Client: Your computer or mobile device
- Server: The IoT device you're managing
- Encryption: Secure communication between client and server
- Authentication: Passwords, public keys, or certificates
Setting Up SSH for IoT Devices
Ready to roll up your sleeves and get started? Setting up SSH for IoT devices is easier than you think. Here's a step-by-step guide to help you configure SSH on a typical IoT device:
- Install an SSH server on your IoT device. Most Linux-based devices come with OpenSSH pre-installed, but if not, you can easily add it.
- Configure the SSH server settings to suit your needs. This might include changing the default port, enabling public-key authentication, or disabling password-based login.
- Test the connection by opening an SSH client on your computer and connecting to the device's IP address.
- Once connected, you can start executing commands or setting up automation scripts to manage your device remotely.
For those of you who prefer a more visual approach, there are tons of tutorials and videos out there to guide you through the process. Just make sure to follow best practices to keep your setup secure.
Tips for Setting Up SSH
- Use strong, unique passwords or public keys for authentication
- Disable unnecessary services to reduce attack surface
- Regularly update your SSH server and client software
- Monitor logs for suspicious activity
Example 1: Basic SSH Command
Let's dive into a basic example of using SSH to connect to an IoT device. Open your terminal or command prompt and type the following command:
ssh username@device-ip-address
Replace "username" with the actual username for your IoT device and "device-ip-address" with its IP address. Once you hit enter, you'll be prompted to enter your password or provide a public key. If everything goes smoothly, you'll be connected to your device and ready to start issuing commands.
Here's a quick breakdown of what just happened:
- You initiated an SSH connection using the "ssh" command
- The client contacted the server at the specified IP address
- The server authenticated your credentials and granted access
Basic SSH Commands for IoT
- ls: List files and directories
- cd: Change directory
- sudo: Execute commands with administrative privileges
- scp: Securely copy files between devices
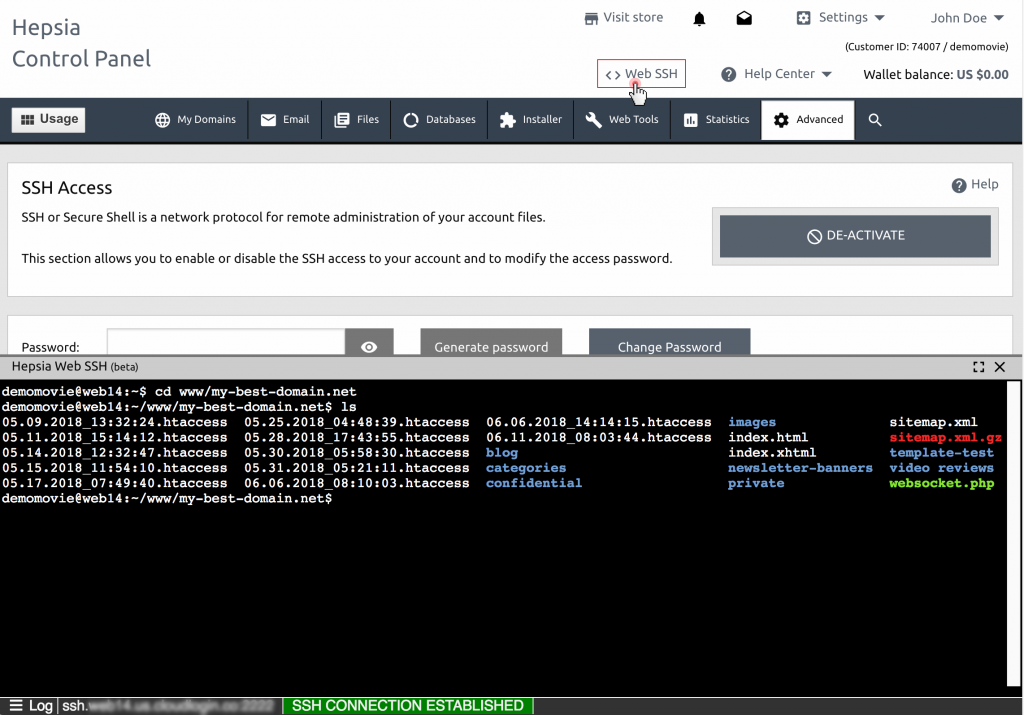
Example 2: Web-Based SSH Interface
For those who prefer a more user-friendly experience, there are web-based SSH interfaces available that allow you to manage your IoT devices through a browser. These interfaces typically provide a graphical interface for executing commands, transferring files, and monitoring device performance.
One popular option is WebSSH2, an open-source web-based SSH client that you can install on your server. Once set up, you can access your IoT devices by simply navigating to the web interface in your browser and entering your credentials.
Here's how you can install WebSSH2 on a Raspberry Pi:
- Install Node.js and npm on your Raspberry Pi
- Clone the WebSSH2 repository from GitHub
- Install the required dependencies using npm
- Start the WebSSH2 server and access it via your browser
Voila! You now have a web-based SSH interface for managing your IoT devices.
Advantages of Web-Based SSH
- Easy access from any device with a browser
- No need to install additional software
- Graphical interface for better usability
- Supports multiple simultaneous connections
Best Practices for Secure IoT SSH
Security should always be at the forefront of your mind when working with IoT devices. Here are some best practices to ensure your SSH setup remains secure:
- Use strong, unique passwords or public-key authentication
- Disable password-based login if possible
- Change the default SSH port to something less common
- Limit access to specific IP addresses using firewall rules
- Regularly update your SSH server and client software
By following these practices, you can significantly reduce the risk of unauthorized access and protect your IoT devices from potential threats.
Additional Security Tips
- Enable two-factor authentication for added security
- Monitor logs for suspicious activity
- Use intrusion detection systems to alert you of potential threats
Troubleshooting Common Issues
Even the best-laid plans can go awry sometimes. Here are some common issues you might encounter when working with SSH in IoT, along with their solutions:
- Connection refused: Check if the SSH server is running and the firewall allows traffic on the specified port.
- Authentication failed: Double-check your username, password, or public key. Make sure there are no typos.
- Timeout errors: Ensure your device is connected to the network and the IP address is correct.
If none of these solutions work, don't hesitate to consult the documentation or seek help from online communities. Chances are, someone else has encountered the same issue and found a solution.
Useful Troubleshooting Tools
- ping: Test network connectivity to your device
- netstat: Check open ports and connections
- ssh -v: Enable verbose mode to debug SSH issues
Tools and Platforms for RemoteIoT SSH
There are tons of tools and platforms available to help you streamline your SSH experience in IoT. Here are a few worth checking out:
- OpenSSH: The go-to SSH server for most Linux-based devices
- WebSSH2: A web-based SSH client for easy remote access
- Termius: A cross-platform SSH client with a sleek interface
- SSHFS: Mount remote file systems securely over SSH
Each of these tools has its own strengths and weaknesses, so it's worth experimenting to find the one that best suits your needs.
Factors to Consider When Choosing Tools
- Compatibility with your IoT devices
- User interface and ease of use
- Security features and protocols supported
- Cost and licensing terms
Security Considerations for IoT SSH
As we've mentioned before, security is paramount when working with IoT devices. Here are a few key considerations to keep in mind:
- Always use encryption for all communications
- Limit access to trusted users and devices
- Regularly audit your system for vulnerabilities
- Stay informed about the latest security threats and patches
By staying vigilant and proactive, you can minimize the risk of security breaches and protect your IoT ecosystem.