**So you're wondering how do I SSH into an IoT device Windows 10? Let's break it down.** Imagine this: you’ve got a smart IoT device somewhere on your network, and you need to get into its system to tweak some settings or troubleshoot an issue. SSH (Secure Shell) is like your golden key to unlock that door, but only if you know how to use it properly. Today, we're diving deep into the world of SSH and IoT on Windows 10, so you can become a tech-savvy wizard in no time.
SSH is not just some random tech buzzword; it’s a secure way to access remote devices over a network. Whether you’re a developer, a network admin, or just someone who likes to tinker with gadgets, learning how to SSH into an IoT device on Windows 10 is a game-changer. It’s like giving yourself superpowers to manage and control devices from afar.
But hold up—before we jump into the nitty-gritty, let’s make sure we’re all on the same page. This guide isn’t just about telling you what buttons to click. We’re going to cover everything you need to know, from setting up SSH on your Windows 10 machine to connecting to your IoT device like a pro. By the end of this, you’ll be ready to handle any SSH-related task with confidence. Let’s get started!
Read also:Antarctic Scientists Seek Rescue After Attack A Thrilling Tale Of Survival
What is SSH and Why Should You Care?
First things first, let’s talk about SSH. SSH stands for Secure Shell, and it’s basically a protocol that lets you securely connect to another computer or device over a network. Think of it as a secure tunnel that keeps your data safe while you’re transferring files, running commands, or managing settings on a remote device.
Why should you care? Well, if you’ve got IoT devices in your network, SSH is your best friend. It allows you to access and manage those devices without physically being there. Plus, it’s encrypted, so you don’t have to worry about prying eyes snooping around your data. Whether you’re configuring a smart thermostat or debugging a network camera, SSH has got your back.
Here’s a quick rundown of why SSH is so awesome:
- Secure: It encrypts all communication between your computer and the IoT device.
- Flexible: You can run commands, transfer files, and even set up port forwarding.
- Platform-independent: SSH works across different operating systems, including Windows 10.
Setting Up SSH on Windows 10
Alright, now that we’ve covered the basics, let’s talk about how to set up SSH on your Windows 10 machine. Believe it or not, Windows 10 already comes with built-in support for SSH. You just need to enable it and install a few things to get started.
Step 1: Enable the OpenSSH Client
The first step is to enable the OpenSSH Client on your Windows 10 machine. Here’s how you do it:
- Open the Start menu and search for "Turn Windows features on or off."
- In the list of features, scroll down and check the box next to "OpenSSH Client."
- Click OK, and Windows will install the necessary components. You might need to restart your computer after this step.
Step 2: Install an SSH Client (Optional)
While the built-in OpenSSH Client is great, some people prefer using third-party tools like PuTTY or Windows Terminal. If you’re comfortable with the command line, the built-in client should work just fine. But if you want a more user-friendly interface, feel free to explore other options.
Read also:Yankees Rookie Tipped As Future Allstar A Rising Star In The Mlb
Connecting to an IoT Device via SSH
Now that you’ve got SSH set up on your Windows 10 machine, it’s time to connect to your IoT device. But before you do that, there are a few things you need to know.
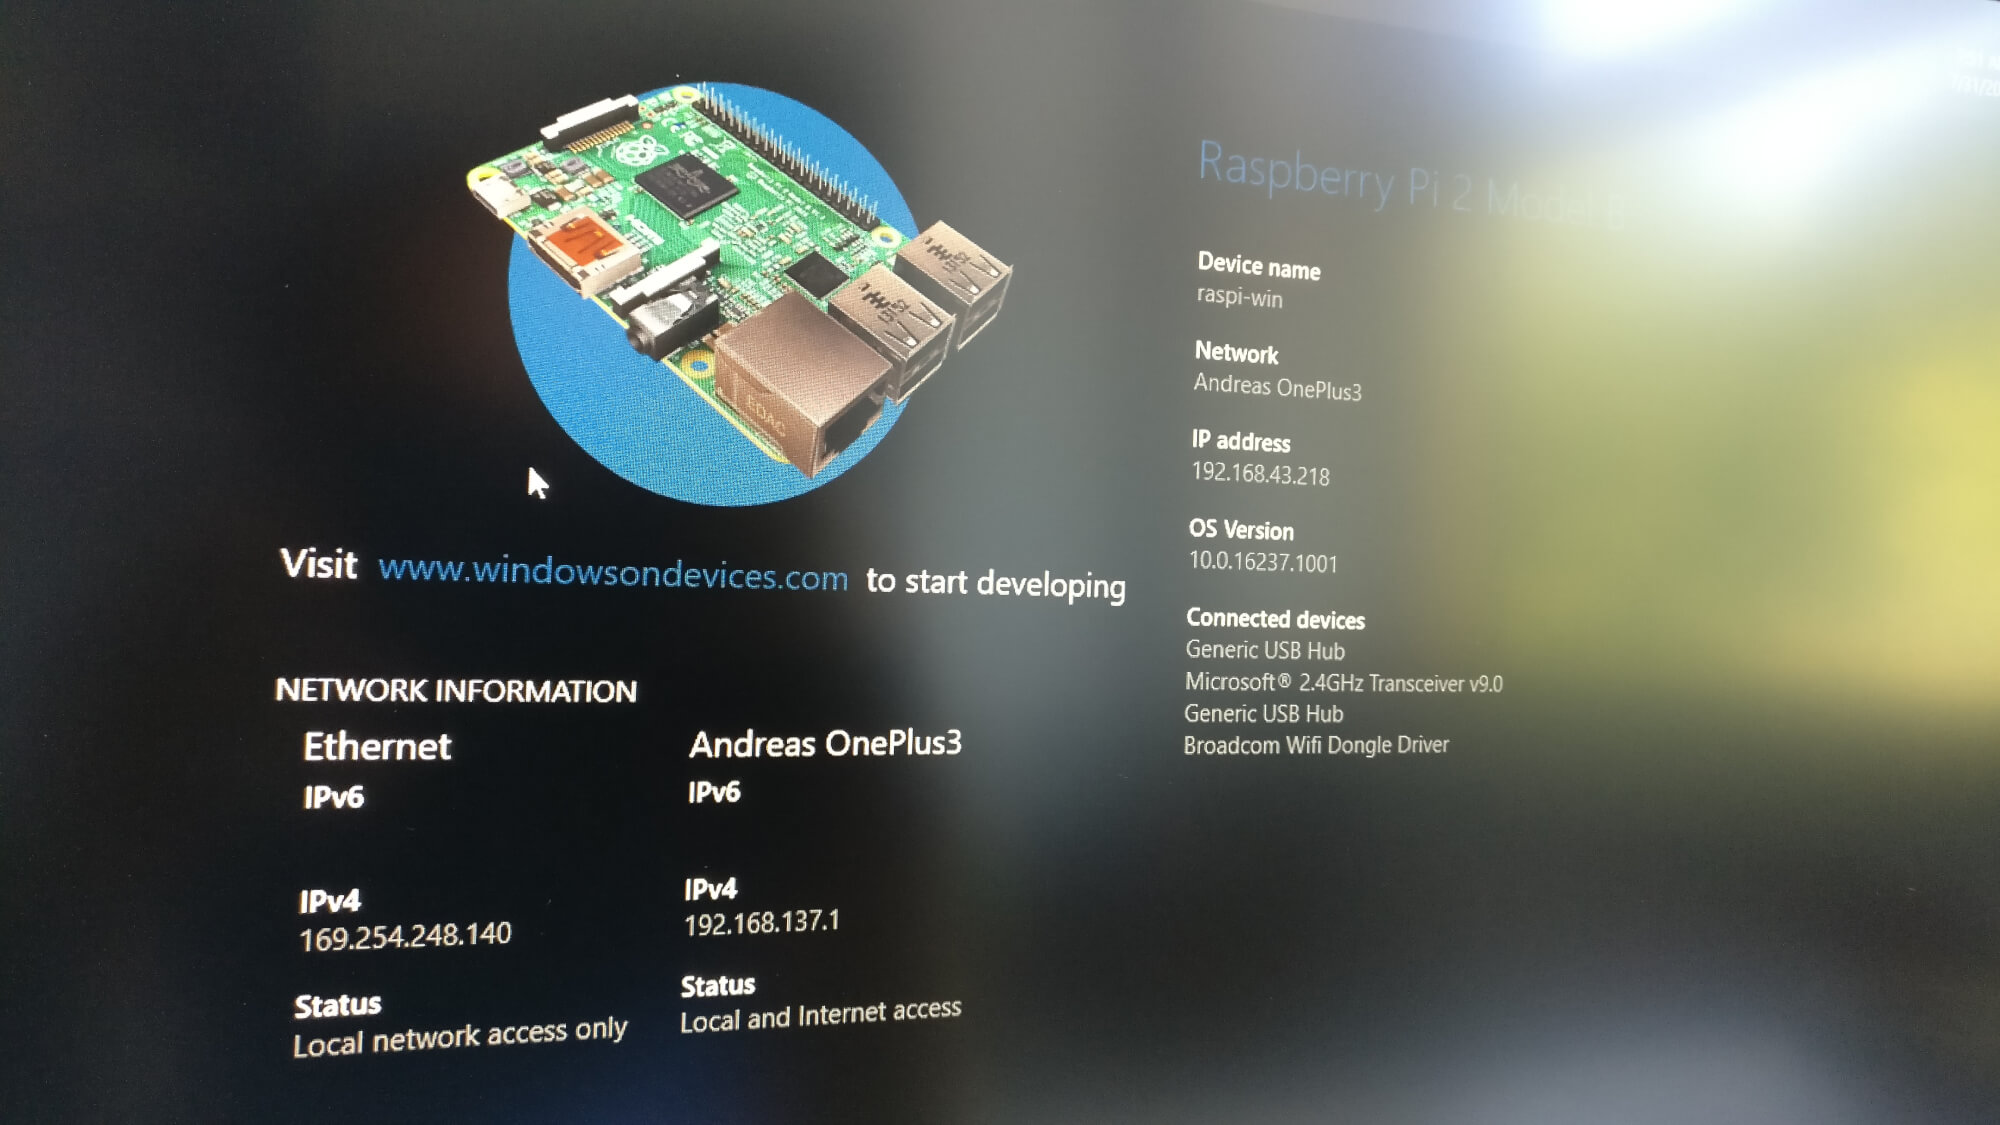
Step 1: Find the IP Address of Your IoT Device
To connect to an IoT device via SSH, you’ll need to know its IP address. You can usually find this information in the device’s settings or by checking your router’s connected devices list. Once you’ve got the IP address, jot it down—you’ll need it for the next step.
Step 2: Open the Command Prompt
Next, open the Command Prompt on your Windows 10 machine. You can do this by searching for "cmd" in the Start menu. Once the Command Prompt is open, type the following command:
ssh username@ip_address
Replace "username" with the username for your IoT device and "ip_address" with the actual IP address you found earlier. Hit Enter, and you’ll be prompted to enter a password. If everything goes well, you should now be connected to your IoT device.
Troubleshooting Common SSH Issues
Sometimes, things don’t go as smoothly as we’d like. If you’re having trouble connecting to your IoT device via SSH, here are a few common issues and how to fix them:
- Connection Refused: Make sure the SSH server is running on your IoT device. Some devices require you to enable SSH manually in the settings.
- Incorrect Username/Password: Double-check that you’re using the right credentials. If you’re unsure, consult the device’s documentation.
- Network Issues: Ensure that both your Windows 10 machine and the IoT device are on the same network. If you’re using a firewall, make sure it’s not blocking SSH traffic.
Enhancing Security for SSH Connections
Security is always a top priority when dealing with IoT devices. Here are a few tips to make your SSH connections more secure:
- Use Strong Passwords: Avoid using simple or easily guessable passwords. Consider using a password manager to generate strong, unique passwords.
- Enable Key-Based Authentication: Instead of relying on passwords, you can set up key-based authentication. This method is more secure and eliminates the need to enter a password every time you connect.
- Limit Access: Restrict SSH access to specific IP addresses or networks. This reduces the risk of unauthorized access.
Advanced SSH Techniques for IoT Devices
Once you’ve mastered the basics, you can start exploring some advanced SSH techniques to make your life easier:
Port Forwarding
Port forwarding allows you to access services on your IoT device from outside your local network. For example, you could set up port forwarding to access a web server running on your IoT device from anywhere in the world.
Tunneling
SSH tunneling is a technique that allows you to securely transfer data between your computer and an IoT device. This is especially useful when working with sensitive information or when you need to bypass firewalls.
Best Practices for Managing IoT Devices with SSH
Managing IoT devices with SSH requires a bit of discipline to ensure everything runs smoothly. Here are some best practices to keep in mind:
- Regularly Update Firmware: Keep your IoT devices up to date with the latest firmware to ensure they’re secure and functioning properly.
- Document Your Setup: Keep a record of your SSH configurations, including usernames, passwords, and IP addresses. This will save you time and frustration in the long run.
- Monitor Activity: Keep an eye on SSH activity to detect any suspicious behavior. If you notice unauthorized access attempts, take action immediately.
Real-World Applications of SSH in IoT
SSH isn’t just a theoretical concept—it’s being used in real-world applications every day. Here are a few examples:
Remote Monitoring
Many companies use SSH to remotely monitor IoT devices in the field. This allows them to quickly identify and resolve issues without sending a technician to the site.
Automated Deployments
SSH is often used in automated deployment pipelines to push updates and configurations to IoT devices. This streamlines the process and reduces the risk of human error.
Conclusion: Take Your IoT Skills to the Next Level
So there you have it—your ultimate guide to SSH-ing into an IoT device on Windows 10. By following the steps we’ve outlined, you should now be able to connect to and manage your IoT devices like a pro. Remember, security is key, so always take the necessary precautions to protect your devices and data.
Now it’s your turn! Try out what you’ve learned and see how SSH can transform the way you interact with your IoT devices. And don’t forget to share your experiences in the comments below. Who knows? You might just inspire someone else to take their tech skills to the next level!
Table of Contents
- What is SSH and Why Should You Care?
- Setting Up SSH on Windows 10
- Connecting to an IoT Device via SSH
- Troubleshooting Common SSH Issues
- Enhancing Security for SSH Connections
- Advanced SSH Techniques for IoT Devices
- Best Practices for Managing IoT Devices with SSH
- Real-World Applications of SSH in IoT
- Conclusion