Are you tired of being stuck in one place to access your IoT devices? Well, buckle up because we’re about to show you how to use SSH IoT from anywhere on Ubuntu and Windows—for absolutely free! This isn’t just a tech trick; it’s a game-changer for anyone managing remote systems or IoT devices. Whether you’re a hobbyist or a professional, this guide will give you the freedom to control your devices no matter where you are.
Imagine this: you’re on vacation in some exotic location, sipping on a tropical drink, but suddenly you remember that you need to check on your home automation system. Panic sets in, right? Wrong! With SSH, you can log in to your IoT devices from anywhere in the world as long as you have an internet connection. It’s like having a superpower, but for geeks.
Now, I know what you’re thinking. “Isn’t SSH complicated?” Sure, it might sound intimidating at first, but don’t worry. By the end of this article, you’ll be SSH-ing like a pro. Plus, we’ll cover both Ubuntu and Windows so you won’t feel left out no matter which platform you prefer. Let’s dive in and unlock this awesome skill!
Read also:Exploring The Thrilling World Of Web Series Ullu Movies
Here’s a quick roadmap of what we’ll cover:
- What is SSH and why you should care
- Setting up SSH on Ubuntu
- Configuring SSH on Windows
- Connecting to IoT devices remotely
- Troubleshooting common issues
- Security tips to keep your system safe
Table of Contents
- What is SSH and Why You Should Care
- Setting Up SSH on Ubuntu
- Configuring SSH on Windows
- Connecting to IoT Devices Remotely
- Using Port Forwarding for Remote Access
- Security Tips for SSH
- Troubleshooting Common Issues
- Advanced Techniques for SSH
- Free Tools to Enhance Your SSH Experience
- Wrapping Up
What is SSH and Why You Should Care
SSH, or Secure Shell, is basically the swiss army knife of remote access. It’s a protocol that lets you securely connect to another computer or device over a network. Whether you’re managing servers, controlling IoT devices, or just tinkering around with your home network, SSH is your go-to tool. Think of it like a secret tunnel that keeps your data safe while you’re hopping between devices.
So why should you care? Well, in today’s world, being able to access your devices remotely is more important than ever. With SSH, you can troubleshoot problems, update software, or even reboot your devices without having to physically be there. Plus, it’s free, which is always a win in my book.
SSH vs Other Protocols
Now, you might be wondering, “Why not just use something else?” Great question! SSH has a few key advantages over other protocols:
- Security: SSH encrypts all data, so even if someone intercepts your connection, they won’t be able to make sense of it.
- Flexibility: You can use SSH for a ton of different tasks, from file transfers to remote command execution.
- Compatibility: SSH works on almost every platform, including Linux, Windows, macOS, and even some IoT devices.
Setting Up SSH on Ubuntu
Alright, let’s get our hands dirty with Ubuntu. If you’re running this awesome Linux distro, setting up SSH is a breeze. Follow these steps and you’ll be up and running in no time.
Step 1: Install SSH Server
First things first, you’ll need to install the SSH server. Open up a terminal and type the following command:
Read also:Philadelphia Bagel Sellers Facebook Revealed The Untold Story Of A Local Legend
sudo apt update && sudo apt install openssh-server
That’s it! The system will do its thing and install everything you need. Once it’s done, you can check if the SSH service is running by typing:
sudo systemctl status ssh
Step 2: Configure SSH
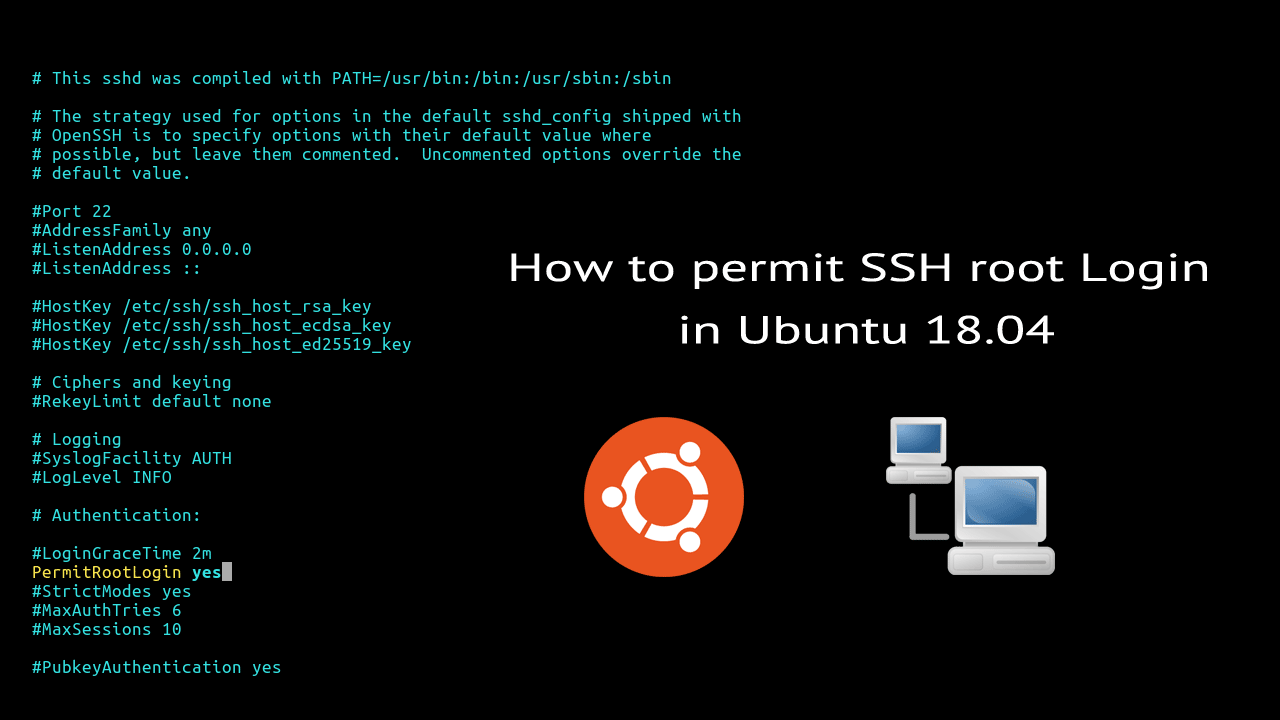
Now that SSH is installed, you might want to tweak a few settings. Open the SSH config file with your favorite text editor:
sudo nano /etc/ssh/sshd_config
Here, you can change things like the port number, disable root login, or set up key-based authentication. Don’t worry if this sounds overwhelming—we’ll cover these in more detail later.
Step 3: Restart SSH
After making changes to the config file, don’t forget to restart the SSH service:
sudo systemctl restart ssh
And that’s it! You’re now ready to connect to your Ubuntu machine from anywhere.
Configuring SSH on Windows
If you’re a Windows user, don’t worry—you’re not left out. Starting with Windows 10, SSH is built right into the operating system. Here’s how you can set it up.
Step 1: Enable SSH Server
First, you’ll need to enable the SSH server feature. Open up the Settings app and go to Apps > Optional Features. Click on “Add a feature” and search for “OpenSSH Server”. Install it and you’re good to go.
Step 2: Configure Firewall
Windows Firewall might block incoming SSH connections, so you’ll need to create a rule to allow it. Open up the Windows Defender Firewall with Advanced Security and create a new inbound rule. Allow TCP traffic on port 22 (or whatever port you’ve configured).
Step 3: Test the Connection
Now that everything is set up, you can test the connection by opening a terminal and typing:
ssh username@your-ip-address
If everything is working correctly, you should see a prompt asking for your password. Enter it and you’re in!
Connecting to IoT Devices Remotely
Alright, now that we’ve got SSH set up on both Ubuntu and Windows, let’s talk about connecting to your IoT devices. Whether you’re managing a smart home setup or monitoring industrial equipment, SSH can help you stay in control.
Step 1: Find Your Device’s IP Address
Before you can connect, you’ll need to know the IP address of your IoT device. This is usually found in the device’s settings or through your router’s admin interface.
Step 2: Establish the Connection
Once you have the IP, open up a terminal and type:
ssh username@device-ip-address
Enter your password when prompted and you’re in! You can now run commands, transfer files, or do whatever you need to manage your device.
Step 3: Automate with Scripts
For those of you who like to automate things, you can write scripts to handle repetitive tasks. For example, you could set up a cron job on Ubuntu to automatically back up your IoT device’s data every night.
Using Port Forwarding for Remote Access
If you want to access your devices from outside your local network, you’ll need to set up port forwarding on your router. This tells your router which device to send incoming SSH traffic to.
Step 1: Log in to Your Router
Open up a browser and type in your router’s IP address (usually something like 192.168.0.1). Log in with your admin credentials.
Step 2: Configure Port Forwarding
Look for a section called “Port Forwarding” or “Virtual Servers”. Create a new rule and set the external port to 22 (or your chosen SSH port) and the internal IP to your device’s IP.
Step 3: Test the Connection
Now, try connecting from outside your network using your public IP address:
ssh username@public-ip-address
If everything is set up correctly, you should be able to connect without any issues.
Security Tips for SSH
With great power comes great responsibility. While SSH is secure by default, there are a few things you can do to make it even more secure.
Tip 1: Use Strong Passwords
It might sound obvious, but using strong passwords is crucial. Avoid using common words or easily guessable combinations.
Tip 2: Enable Key-Based Authentication
Instead of relying on passwords, you can use SSH keys for authentication. This is much more secure and eliminates the risk of brute-force attacks.
Tip 3: Change the Default Port
Attackers often scan for open SSH ports, so changing the default port (22) can help deter them. Just don’t forget to update your port forwarding rules!
Troubleshooting Common Issues
Even the best-laid plans can go awry. If you’re having trouble with SSH, here are a few common issues and how to fix them.
Issue 1: Connection Refused
This usually means that the SSH service isn’t running or the port is blocked. Check your firewall settings and make sure SSH is installed and running.
Issue 2: Permission Denied
If you’re getting a “permission denied” error, double-check your username and password. Also, ensure that the user has the correct permissions to log in via SSH.
Issue 3: Timeout Errors
Timeouts can happen if there’s a network issue or if the device is unreachable. Try pinging the device to see if it’s online, and check your router settings to ensure traffic is being forwarded correctly.
Advanced Techniques for SSH
Once you’ve mastered the basics, you can start exploring some advanced SSH techniques. Here are a few ideas to take your skills to the next level.
Tunneling Traffic
SSH can be used to create secure tunnels for other protocols. For example, you can tunnel HTTP traffic to securely browse the web or access blocked websites.
Running Commands Remotely
You don’t always have to log in to run commands. You can execute them directly from the terminal:
ssh username@ip-address "command"
File Transfers with SCP
SCP, or Secure Copy, is a protocol that uses SSH to transfer files. It’s super handy for moving files between devices securely.
Free Tools to Enhance Your SSH Experience
There are plenty of free tools out there to make your SSH life easier. Here are a few worth checking out:
- Putty: A popular SSH client for Windows.
- WinSCP: A great tool for file transfers on Windows.
- Keychain: Helps manage SSH keys across multiple sessions.
Wrapping Up
And there you have it—a comprehensive guide to using SSH IoT from anywhere on Ubuntu and Windows for free. Whether you’re a beginner or an experienced user, SSH is an invaluable tool that can help you manage your devices with ease. By following the steps in this article, you should now be able to set up SSH, connect to your devices remotely, and even troubleshoot common issues.
So what are you waiting for? Go ahead and give it a try. And if you found this article helpful, don’t forget to leave a comment or share it with your friends. Happy SSH-ing!