Let’s be real here, mastering the Roblox Create Dashboard is no small feat. If you’re diving into the world of game development on Roblox, you’re probably overwhelmed by all the buttons, settings, and options. But don’t sweat it—this guide is here to break it down for you step by step. We’re going to show you how to navigate the https://create.roblox.com dashboard like a pro and turn your creative ideas into awesome experiences. So buckle up, because we’re about to take you on a wild ride!
When you first log in to the Roblox Create dashboard, you might feel like you’ve just walked into a tech store where everything is shiny but confusing. And trust me, that’s normal. But once you understand how things work, you’ll realize how powerful this platform is. Whether you’re building your first game or fine-tuning an existing one, the dashboard is your best friend.
This guide isn’t just some random tutorial; it’s packed with actionable tips, tricks, and strategies to help you dominate the Roblox Create dashboard. By the time you finish reading, you’ll know exactly how to create, manage, and optimize your creations to give players an unforgettable experience.
Read also:Williams New Bet Gen Z Grads
Here’s a quick sneak peek at what we’ll cover:
- Understanding the Roblox Create dashboard layout
- Setting up your first game or experience
- Managing assets, models, and scripts
- Promoting your creations effectively
- Troubleshooting common issues
Ready to dive in? Let’s go!
Table of Contents
- Understanding the Roblox Create Dashboard Layout
- Setting Up Your First Game or Experience
- Managing Assets, Models, and Scripts
- Customizing Game Settings for Better Performance
- Promoting Your Creations to Attract Players
- Optimizing the Player Experience
- Troubleshooting Common Issues
- Advanced Features to Enhance Your Games
- Engaging with the Roblox Community
- Conclusion: Mastering the Roblox Create Dashboard
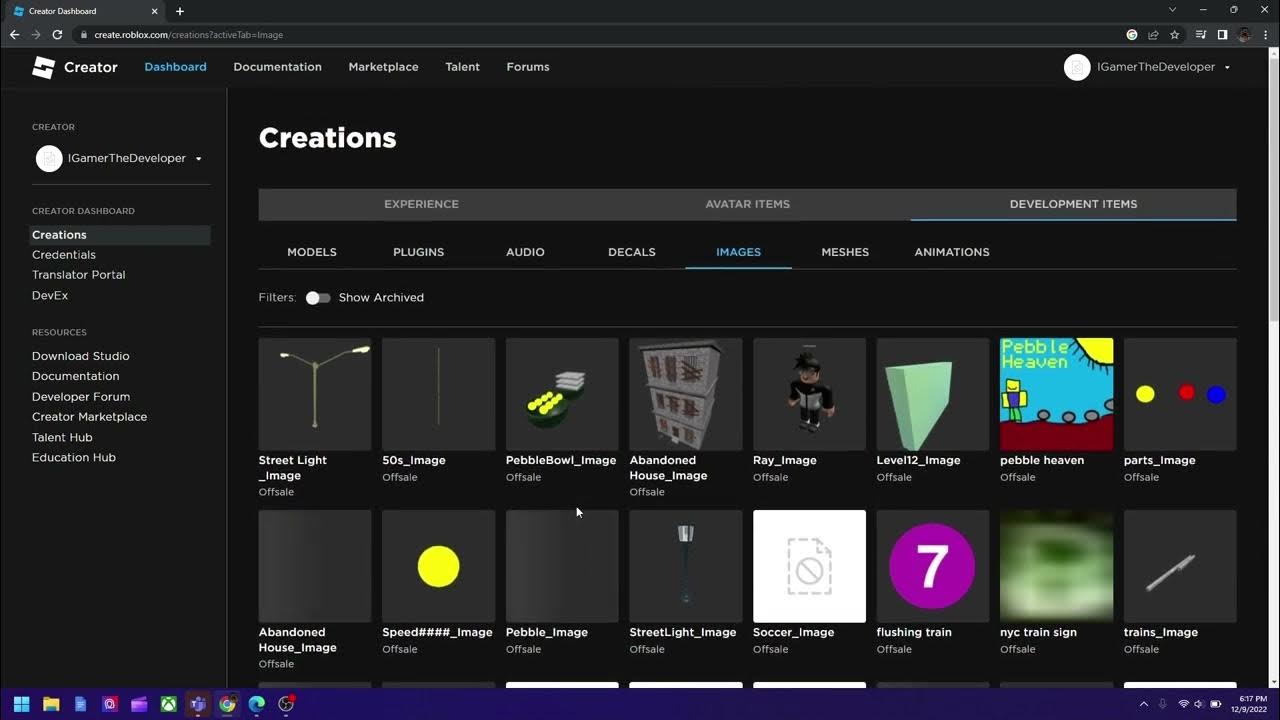
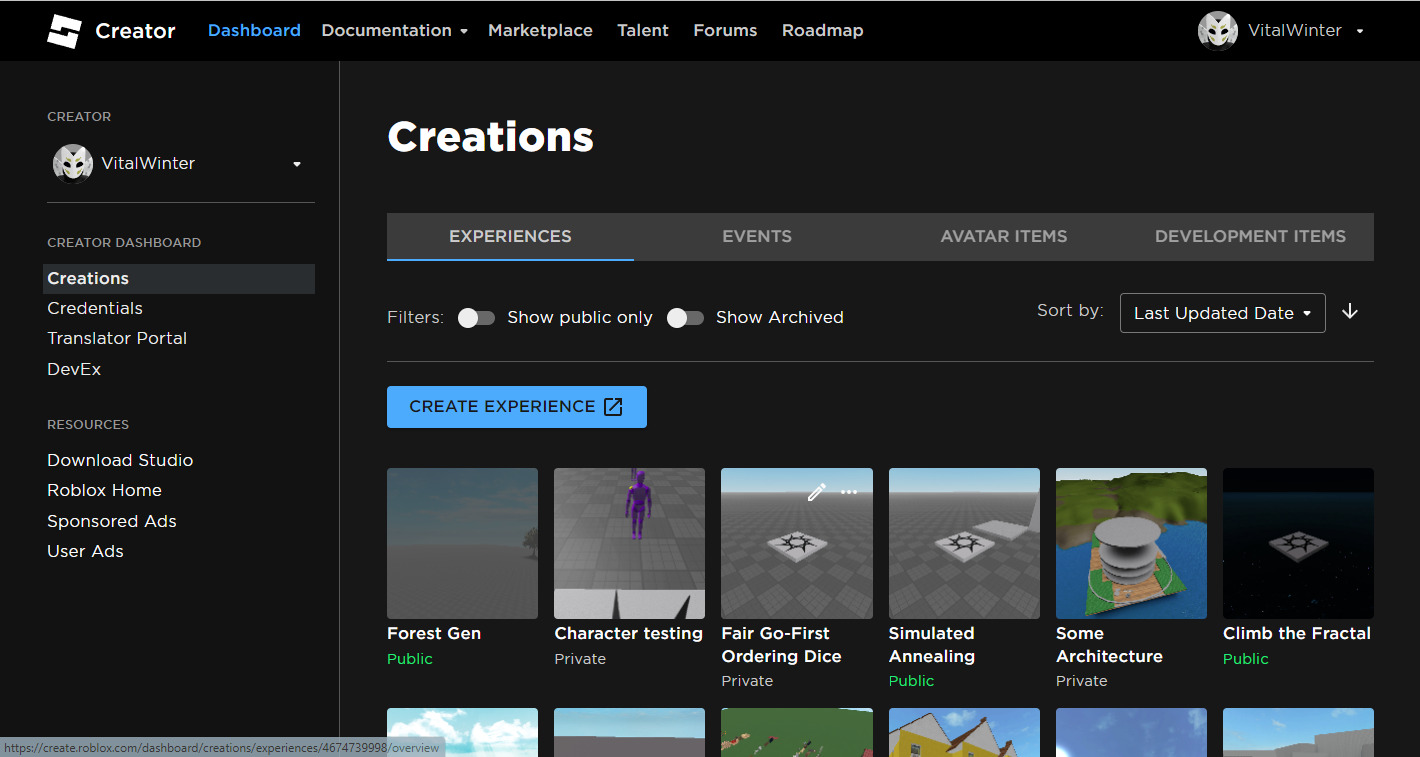
Understanding the Roblox Create Dashboard Layout
Alright, let’s start with the basics. The Roblox Create dashboard might look intimidating at first, but once you get the hang of it, it’s actually pretty straightforward. Here’s what you need to know:
Key Sections of the Dashboard
The dashboard is divided into several sections, each designed to help you manage different aspects of your creations. Here’s a quick breakdown:
- Creations: This is where you’ll find all your games, models, and other content. Think of it as your personal portfolio on Roblox.
- Assets: Need cool outfits, models, or scripts? This section lets you upload, manage, and organize everything you need for your games.
- Monetization: If you’re looking to make some cash from your creations, this section helps you set up passes, game passes, and other revenue streams.
- Analytics: Want to know how your game is performing? The analytics section gives you insights into player activity, engagement, and more.
Now that you know what each section does, let’s talk about how to navigate them like a boss.
Setting Up Your First Game or Experience
Creating your first game on Roblox can be both exciting and nerve-wracking. But don’t worry—we’ve got your back. Here’s how you can set up your first game or experience:
Read also:Richard Jeffersons Laugh At Tnt The Inside Story Behind The Iconic Moment
Step 1: Create a New Game
Head over to the “Create” section of the dashboard and click on “New Game.” You’ll be prompted to choose a template. Templates are pre-built game setups that save you a ton of time. For example, if you’re making a platformer game, you can choose the platformer template and build from there.
Step 2: Customize Your Game
Once your game is created, you can start customizing it. This includes:
- Designing the map
- Adding characters and NPCs
- Writing scripts to control gameplay mechanics
Remember, the key to a great game is attention to detail. Spend time tweaking every aspect until it feels just right.
Managing Assets, Models, and Scripts
Assets are the building blocks of your game. Whether it’s models, textures, or scripts, managing them properly is crucial. Here’s how:
Uploading Assets
To upload an asset, go to the “Assets” section and click “Upload.” You can upload models, textures, audio files, and more. Just make sure your files are in the right format and meet Roblox’s requirements.
Organizing Your Assets
With so many assets, it’s easy to lose track of things. That’s why organizing your assets is important. Use folders and tags to keep everything in order. Trust me, your future self will thank you for it.
Customizing Game Settings for Better Performance
Game settings can make or break your player experience. Here are a few tips to optimize your game:
Adjusting Physics Settings
If your game involves a lot of movement or interactions, tweaking the physics settings can improve performance. For example, you can adjust gravity or friction to make your game feel more realistic.
Optimizing Graphics
High-quality graphics are great, but they can also slow down your game. To strike a balance, use lower-poly models and optimize your textures. This ensures your game runs smoothly even on older devices.
Promoting Your Creations to Attract Players
Creating a great game is only half the battle. You also need to promote it to attract players. Here’s how:
Using Roblox Ads
Roblox offers a built-in advertising system that lets you promote your games to a wider audience. You can set a budget and target specific demographics to maximize your reach.
Engaging with the Community
Don’t underestimate the power of community engagement. Join forums, participate in discussions, and collaborate with other creators. Building relationships can help you grow your player base organically.
Optimizing the Player Experience
A great game isn’t just about mechanics—it’s about the overall experience. Here’s how you can optimize it:
Adding Story Elements
Stories add depth to your game and keep players engaged. Whether it’s a simple questline or a complex narrative, storytelling can make your game stand out.
Improving User Interface
A clean and intuitive UI can make a huge difference. Make sure your menus are easy to navigate, and your controls are responsive. Players should be able to focus on the game, not struggle with the interface.
Troubleshooting Common Issues
No matter how careful you are, issues can still arise. Here’s how to troubleshoot some common problems:
Fixing Loading Issues
If your game takes forever to load, it might be due to large file sizes or complex scripts. Try optimizing your assets and simplifying your code to improve loading times.
Resolving Script Errors
Script errors can be frustrating, but they’re not impossible to fix. Use the Roblox Studio debugger to identify and resolve issues. And if you’re stuck, don’t hesitate to ask for help in the Roblox forums.
Advanced Features to Enhance Your Games
Once you’ve mastered the basics, it’s time to explore advanced features. Here are a few to consider:
Implementing AI
Adding AI to your game can create more dynamic and challenging experiences. Whether it’s NPCs with unique behaviors or adaptive difficulty levels, AI can take your game to the next level.
Creating Multiplayer Mechanics
Multiplayer games are always more fun. Use Roblox’s networking tools to implement multiplayer mechanics like team battles, co-op missions, and more.
Engaging with the Roblox Community
The Roblox community is one of the most vibrant and supportive out there. Here’s how you can engage with it:
Joining Forums and Discord Servers
Forums and Discord servers are great places to connect with other creators. You can share tips, ask for feedback, and collaborate on projects.
Participating in Events
Roblox frequently hosts events and contests that offer great opportunities to showcase your skills and win prizes. Keep an eye out for them and participate whenever you can.
Conclusion: Mastering the Roblox Create Dashboard
And there you have it—a comprehensive guide to mastering the Roblox Create dashboard. Whether you’re just starting out or looking to take your skills to the next level, this guide has everything you need to succeed.
Remember, creating great games takes time and practice. Don’t be afraid to experiment, learn from your mistakes, and keep pushing the boundaries of what’s possible.
Now it’s your turn! Share your thoughts in the comments below. What’s your favorite part of the Roblox Create dashboard? And don’t forget to check out our other articles for more tips and tricks. Happy creating!